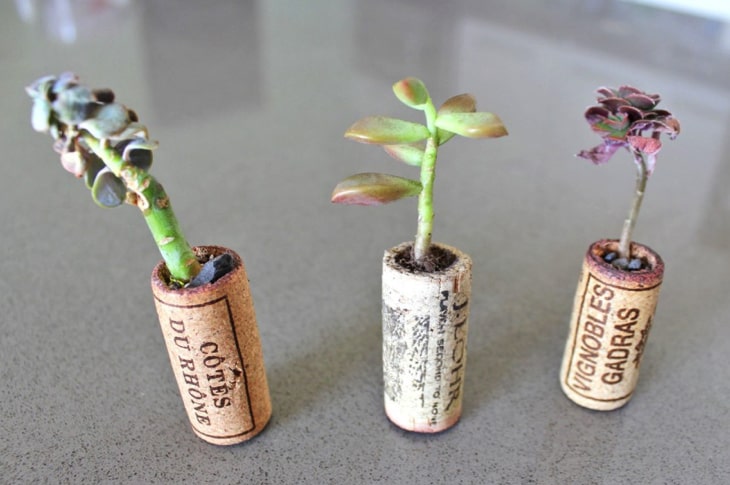
Many people who enjoy drinking wine at home often run into the problem of what to do with their wine corks after finishing a bottle. Though the logical solution is to simply throw them away, cork can be repurposed into all sorts of DIY crafts, so tons of people find themselves saving them for a special, to-be-determined project that requires lots of corks.
If you’re one of those people, look no further for a DIY wine cork project, as this one only requires a few corks, depending on how many mini planters you want to make. Read below to find out what steps you need to take to turn this adorable project into a reality.
Here’s what you’ll need:
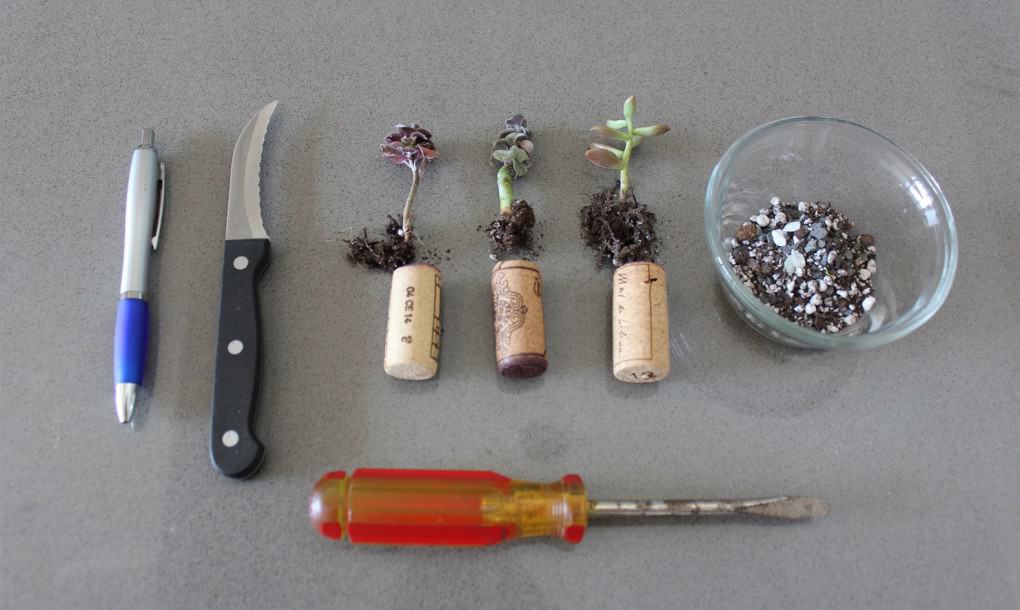
- wine corks
- pen
- small, sharp knife
- flathead screwdriver
- miniature succulents
- soil
Step One
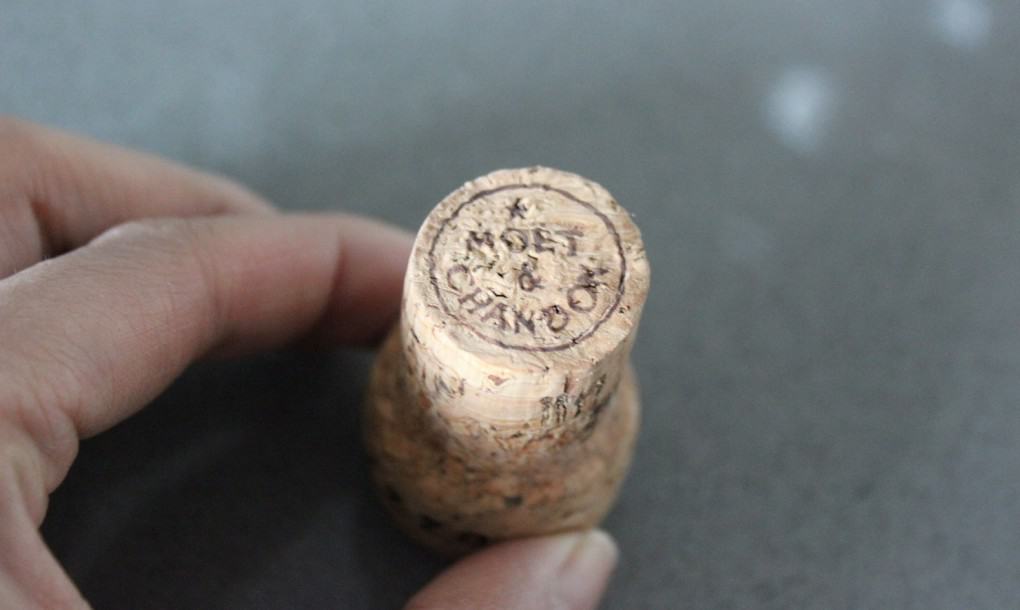
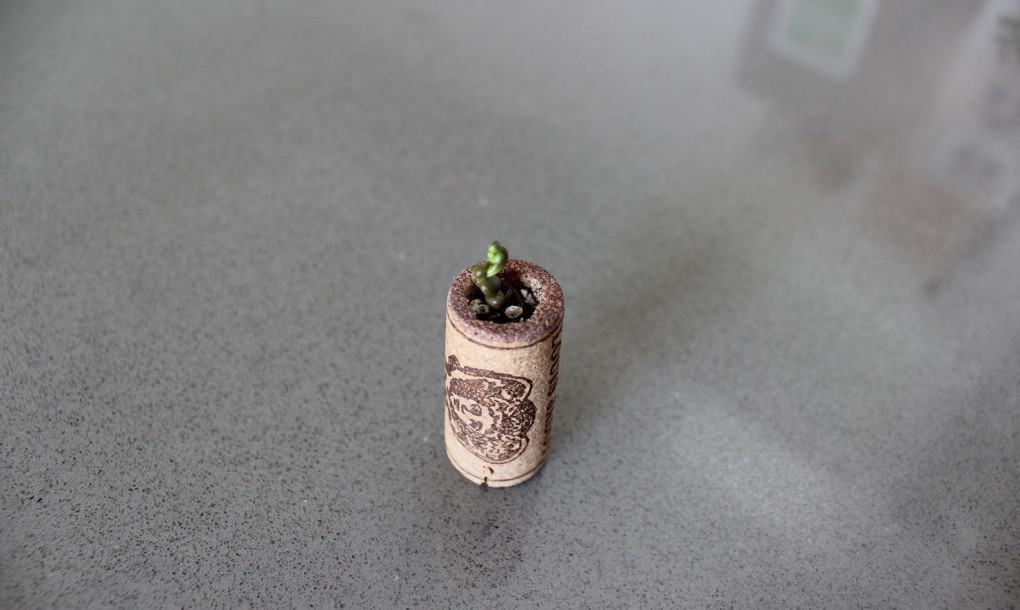
Hold your cork upright and draw a circle in the top, leaving a tiny perimeter of about 1/8″. Some corks, like the one pictured above, even come with a pre-printed circle that you can work with.
Step Two
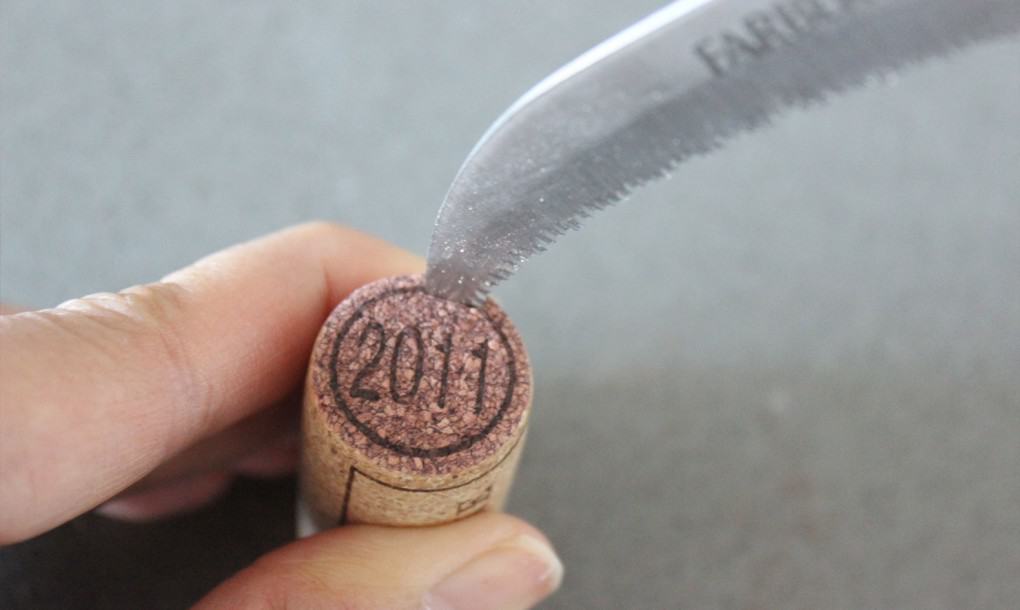
Use your knife to carefully cut into the cork, tracing the line you just drew. Slice in about an inch or so, making sure not to cut past your perimeter.
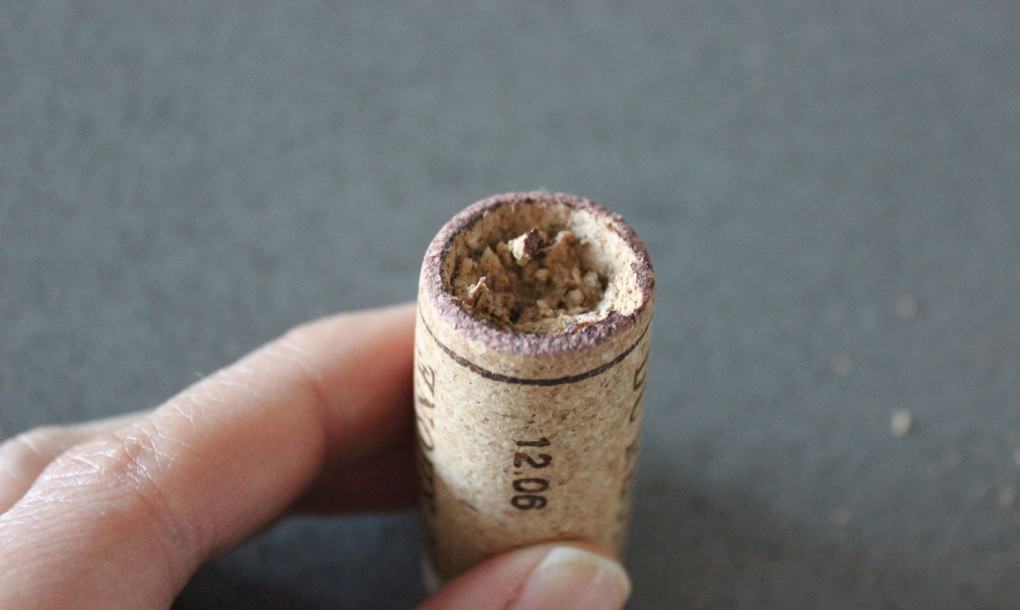
Step Three
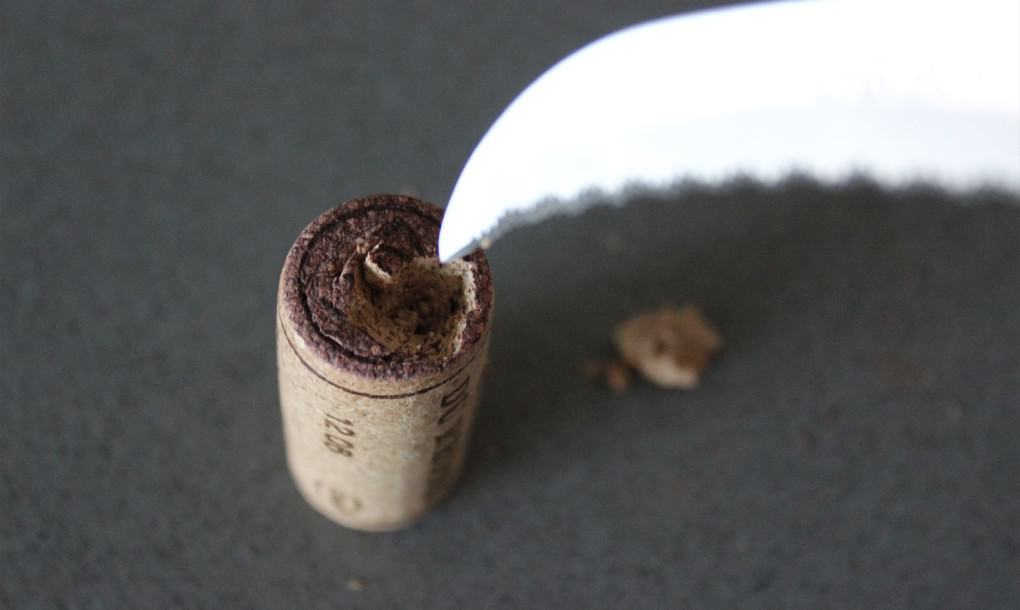
After you have your circle cut out, use your knife to start popping out small chunks of the center of your circle.
PRO TIP: Don’t throw your leftover cork shavings away! Reuse them as mulch for your plants to get even more value out of this recycling project.
Step Four
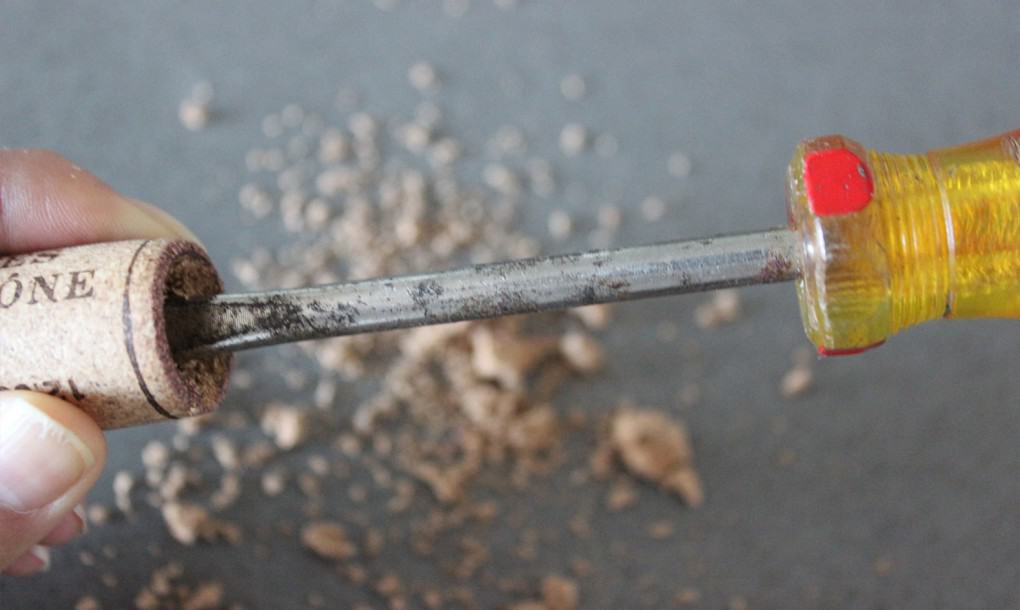
Once you feel good about the amount of cavity you’ve carved out, use your flathead screwdriver to continue hollowing out the inside of the cork, using a twisting motion to dig deeper. The flathead screwdriver is actually more effective at getting into the deeper recesses of the cork. Stop once you are a little more than halfway down.
Step Five
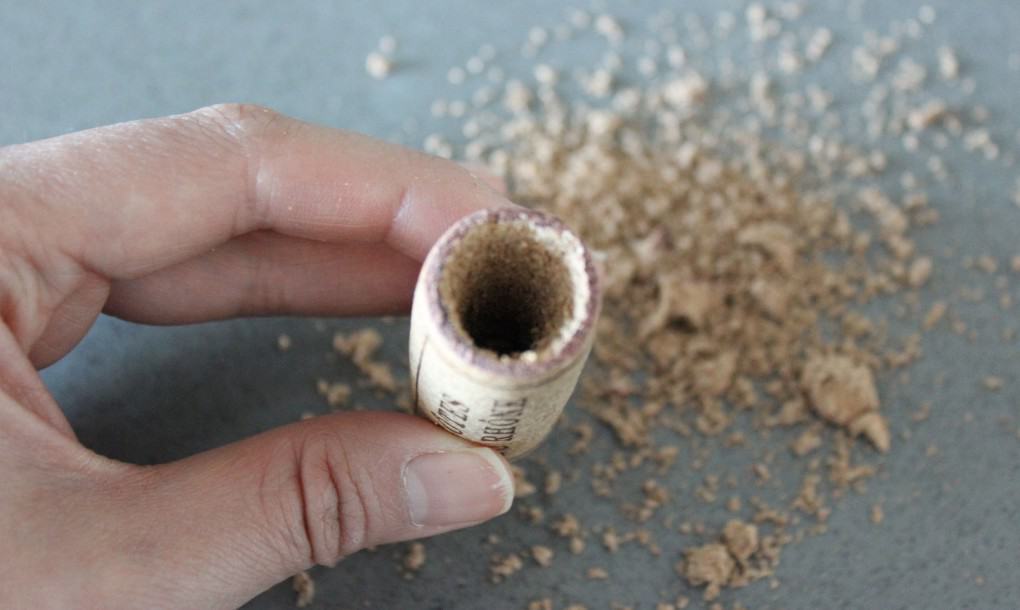
Then scoop a small amount of soil into your hollowed out wine cork, leaving room for your plant.
Step Six
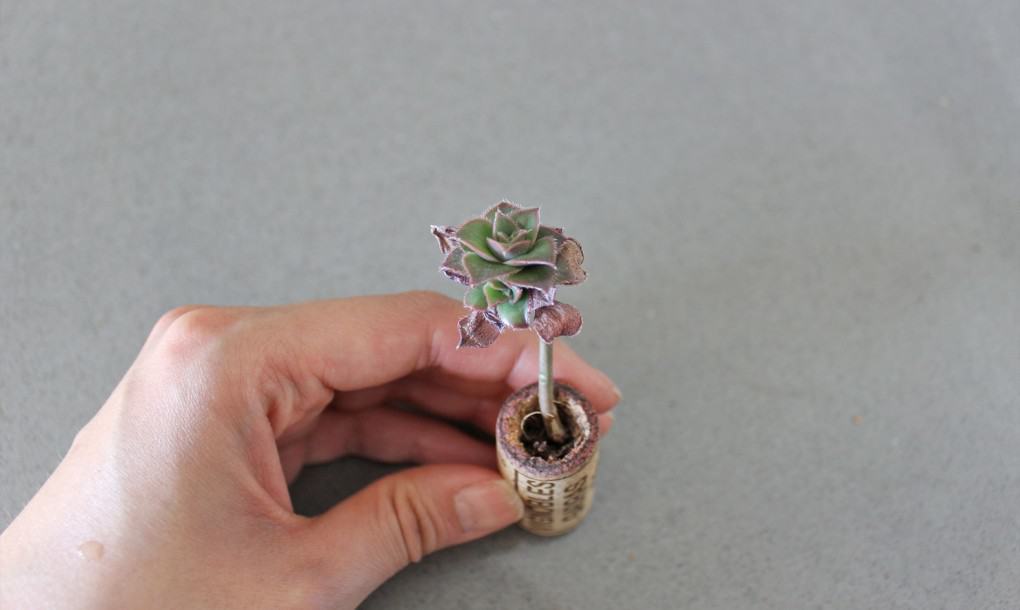
Pop your tiny plant in and cover the roots with a little more soil. Then place your new wine cork succulents where they’ll get plenty of sun and water them once in a while when the soil feels dry.